The walls of the house, decorated with paintings and panels, can add depth and originality to the interior. You can buy ready-made works in a store, but stamped products have no soul, and there is a great chance that you will come across exactly the same “work” from your neighbors or friends.
That is why ideas and instructions for making homemade paintings are very popular among needlewomen. For the kitchen, dining room, cozy room in a cafe or veranda at the dacha, you can try making panels from coffee beans.
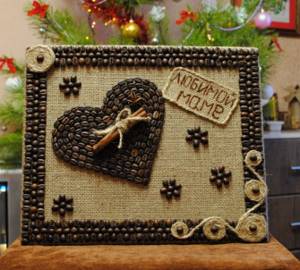
The secret of popularity
Why should you use coffee beans for decoration? There are several reasons:
- the crafts turn out “tasty” in every sense: the smell of the grains is pleasant and is associated with warmth and comfort;
- the color range of grains is rich - you can lay out a complex pattern with a transition of tones;
- a pack of inexpensive coffee is enough for several miniatures - it is an economical and affordable material;
- the noble shade of the grains goes well with most interiors.

If you look at the photo of panels made of coffee beans, most of them will support the theme of a morning cup of an invigorating drink. But there are many original themes for a children's room, hallway and even living room.
Features of coffee decor
First of all, it is worth warning that coffee beans contain many phytoncides - volatile substances and aroma molecules. And it is best to hang pictures made from coffee beans in the kitchen, living room, office, but not in the bedroom or nursery, where the subtle, unobtrusive smell will be somewhat stimulating, tonic, and prevent you from falling asleep. Quite often, such art is placed in bars or coffee shops, where it looks extremely appropriate.
It is important to understand that the coffee bean is a fairly large element, so it looks most successful on a large scale, appearing only as a small particle. Decor smaller than A5 often looks too rough and eclectic, since there are few grains and they take up a lot of space. There is a way to make such cards, but in general, it is not very popular, since the grains in this case look too large.
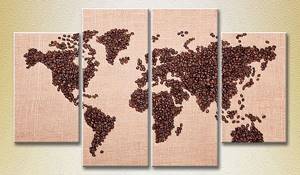
If you are making a painting from coffee beans, its size should be at least A4, and preferably larger.
What to prepare for work?
To start creating, you will need a base on which the grains will be glued. This can be a piece of canvas, matting or any other dense fabric (including colored fabric). In the absence of a fabric base, thick cardboard will do.
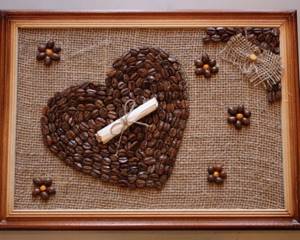
Here is a sample list of what you will need to make a panel with coffee beans:
- baguette or frame for framing a homemade masterpiece;
- glue gun and several sticks of glue,
- additional decoration elements.
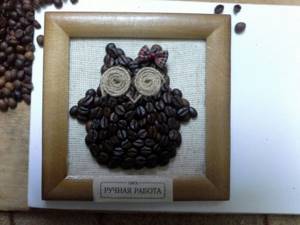
Among the latter, beads, coins, twine, pieces of lace, dried flowers and much of what is stored in the stocks of skilled craftsmen are suitable.
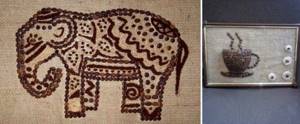
Cinnamon sticks, dried citrus slices, small pretzels, star anise, and cloves are often used as tasty additions to the picture. Beans and nut shells go well with coffee beans.
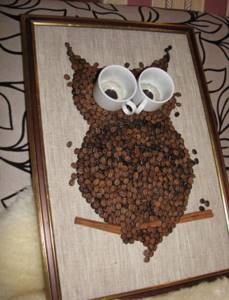
Almost all decorative elements can be found in the kitchen or in the nearest store.
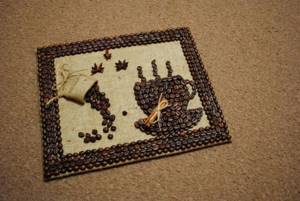
Mug made from coffee beans
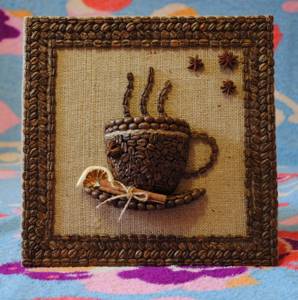
A fragrant mug made from coffee beans will charge you with cheerfulness and optimism, not only with its appearance, but also with its smell.
To make coffee panels you will need:
- 1 liter plastic bottle;
- coffee beans;
- ground coffee;
- frame;
- double-sided tape;
- cardboard;
- sackcloth;
- glue gun;
- acrylic paints (it is better to choose gold and brown);
- white napkin;
- varnish;
- PVA glue;
- materials that will serve decorative purposes (cinnamon, flowers, dried lemon, etc.);
- brush;
- scissors;
- ruler.
Don't be scared right away when you see such a large list. All items are easily accessible and you won't have any difficulty finding them.
The photo shows what you will end up with. Of course, your version will be different, because even working in one master class, a person’s imagination adds its own flavor to each composition.
Related article: DIY jewelry box: cardboard master class with photos
Stages of making a coffee mug. Take the bottle and cut off the top.

Now the neck and lid should be cut off from this part, and the remaining part should be cut in half. To make a mug you only need one half.
Now comes the cardboard. Cut out parts in the form of a saucer, the walls of the mug (the size of the plastic half) and the bottom.
Using double-sided glue, glue the parts to the mug.
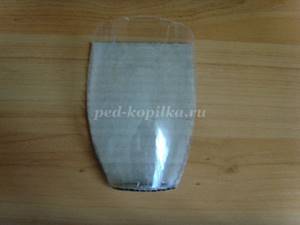
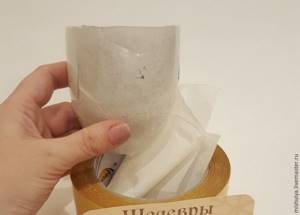
Take a napkin and cover the entire cup with it, both inside and outside.
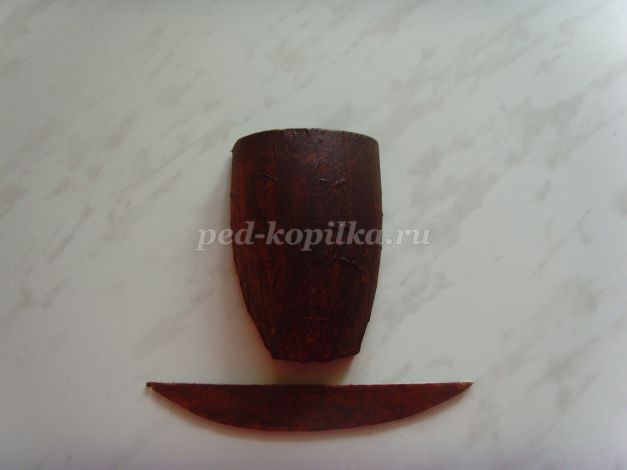
Paint the mug and saucer with brown paint.
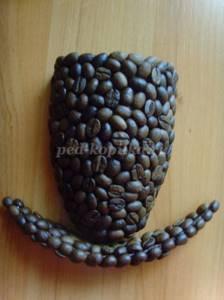
The time has come to work with coffee beans. Having secured a glue gun, begin to gradually cover the entire mug with grains, making sure that they do not cross the borders of the mug. Don't forget to cover the saucer with grains as well.
Next, work on the frame. Glue burlap to the base of the frame, this will be the background for your mug. If desired, paint the frame itself with gold paint. Looks great.
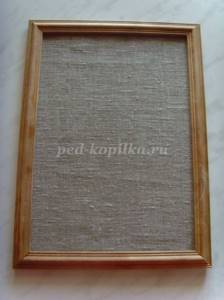
Using hot glue, “attach” a saucer and a mug to the picture. Take some more coffee beans and make a handle.
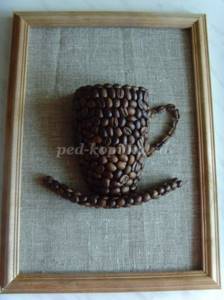
In order to “revive” the picture, add a coffee aroma above the mug. Cut out the smoke template on cardboard and carefully transfer it to the panel.
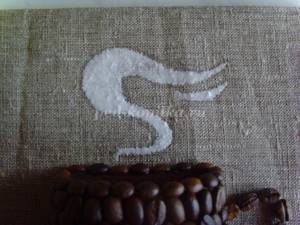
Fill the smoke inside with PVA glue and pour ground coffee on top.
Never use instant coffee for this step unless you want the smoke to disappear very quickly.
The most interesting thing remains - the decor. Now turn on your imagination and decorate it the way you want.
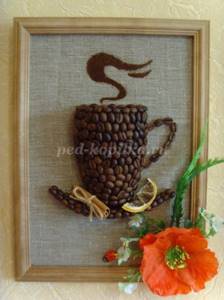
There is a fairly simple and quick way to create a painting from ground coffee. You will need:
- stencil;
- ground coffee;
- glue;
- frame;
- sackcloth.
Technology for creating panels using a stencil:
- Glue the burlap to the frame;
- Attach the stencil to the base of your painting and outline the desired parts;
- Coat the selected parts with glue and sprinkle ground coffee over them;
- Remove the stencil and wait until the painting is completely dry.
Related article: “Colombian mochila” bag with a cat. Knitting patterns
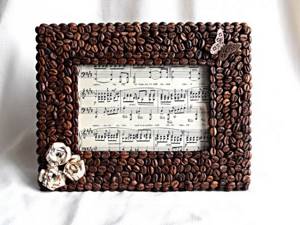
One of the most popular crafts made from coffee beans is topiary. This is an ornamental tree that decorates many homes and offices. This tree looks unusual and beautiful.
Coffee beans decorate watches, photo frames, vases, candlesticks and candles. Coffee beans go well with other materials, so products are often decorated with grains and beans or multi-colored pieces of glass.
Subject of paintings
Before you make a panel of coffee beans with your own hands, you need to decide on the theme of the work. Even those who lack artistic talent will be able to repeat the following plots based on:
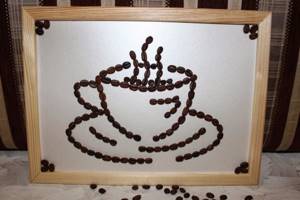
- a coffee cup or mug from which a thin stream of steam rises;
- watch silhouette;
- simple and understandable phrases in English: “I love coffee”, “Good morning”, “Coffee time”, “Coffee & Milk”, etc.;
- silhouette of a man or woman with a cup of coffee in his hand;
- animal figurines;
- abstract figures and lines;
- world map.
Coffee beans glued to the base immediately create a three-dimensional image, but you can add additional relief to the picture using artificial flower buds, spikelets, flat shallow plates, and spoons.
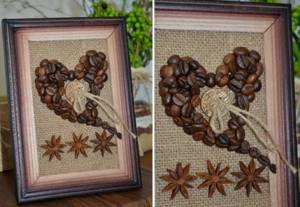
How to make a painting from coffee beans step by step
When you have prepared everything, you can sit down to do it. You can find a stencil for a coffee bean painting or paint one yourself. Draw the way you like, and when you are satisfied with the result, transfer it to the fabric with a pencil.
Next we proceed step by step:
- Paint over the background. This is done with a marker, gouache, or the layer is covered with glue and ground coffee is applied with a brush (this is the best option, the most natural). Let dry.
- Apply glue to the base with a brush. Do not bathe the beans in it (it will leave streaks), do not try to drip a little onto each bean (this will prolong the process and you will get your hands dirty).
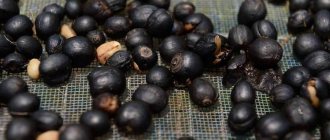
- If the grains are too oily, rinse them, dry them with a towel and let them dry. Take the grain with tweezers or a wet finger and place it on the glue.
First make an outline, then fill it in.
If you have a combination of different tones, you can draw lines along the contour with a thin object. Then make contours separately for each shade.
- Leave the painting horizontally for a day to allow it to dry completely.
You can find many master classes on paintings made from coffee beans online; there are some very interesting ideas and options. For example, images of a cup, cat, tree, portraits.
Do not glue grains in two or three layers! If you like three-dimensional paintings made from coffee beans, look at how the author solved the problem. Perhaps salt dough, papier-mâché or something else was used.
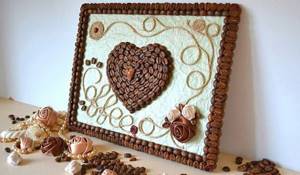
How to arrange the canvas in the interior?
If you choose a horizontal orientation for the panel, it will visually expand the wall on which it will hang. Narrow work with a vertically positioned image will visually increase the height of the ceiling. Large voluminous elements in the picture are better perceived if viewed from a distance of 1-2 m.
For a small, narrow room, it is better to create a panel with several small components or one central image.
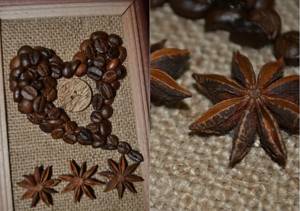
They need to be placed at eye level of the person looking - approximately 1.5 meters. If the craftswoman plans to create several works, then paintings of the same theme and execution technique should be concentrated in one room.
If the walls are plain, for decoration it is enough to choose a good molding that suits the style. Colorful wallpaper can interrupt the idea of a design with its print. In this case, the canvas should be separated from the frame by a wide mat.
Photos of crafts made from coffee beans
- Crafts from matches - 125 photos of original ideas for professionals and simple crafts for beginners
- Crafts with children: a review of interesting and exciting ideas for creating toys and decorations (115 photos)
- Crafts from tights: 60 photos of basic ideas and sewing original crafts with your own hands
Read here - Crafts symbol of summer - original crafts for children and adults. Features of DIY creation (105 photos and videos)
Did you like the article?
0
Making the most morning panel
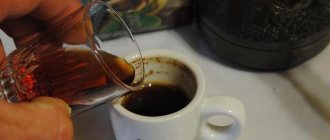
Many people's day starts with a mug of coffee. Here is a step-by-step process for making a panel with a description of how to create a picture of a cup with your favorite drink from grains.
Industrial vacuum pump
DIY stencils of beautiful snowflakes from A4 paper
- DIY paper crown: ideas, templates and tips on how to make a real crown (video + 130 photos)
- Cut off the top of a small plastic bottle. We cut the resulting funnel in two, leaving a neck with turns for twisting on one of the parts. We will work with a half without a neck. We apply it to a piece of thick cardboard and trace it along the contour.
- We repeat the operation, placing the workpiece vertically on the cardboard - the resulting semicircle will be the bottom of the cup.
- On the remaining cardboard we randomly draw a detail that resembles a watermelon slice in outline, but is more elongated and thinner - this is a blank for a saucer.
- We glue the cardboard and plastic together, and cover the future mug with masking tape. We paint everything (including the saucer blank) with thick brown gouache.
- When the paint is dry, we begin gluing the grains. You can place them with the convex side only outward or only inward. It is not forbidden to alternate grains, changing direction.
- We glue the saucer from the ends, bottom and top. You should get a neat “watermelon rind”. Glue a mug and a saucer underneath it to the center of the canvas. Using coffee beans nearby, we make a semicircular handle.
- Add cinnamon sticks to the saucer (you can tie them with a piece of twine) and a dried lemon wedge. If you have experience in modeling foamiran, it’s good to make a chocolate slice or cake out of it.
- Roses made from citrus peels look good as decoration: a thin and narrow strip of peel from an orange, tangerine or lemon is rolled up and secured with a toothpick at the base. Dry it.
- Draw the outline of steam above the cup. Fill with PVA glue and immediately sprinkle with ground coffee. Let dry and shake off excess. We add a flower or an inscription to the bottom of the picture. The panel is ready. We insert it into a frame and hang it in its rightful place.
Conclusions:
- Coffee bean paintings are a modern form of art. They look great in the kitchen, living room or office, as well as bars.
- You can make paintings from coffee beans using master classes or using your own stencil.
- Always fill the base with markers, gouache or ground coffee; without gaps, the decor will look prettier.
- Using super glue, you can attach spices, a spoon, or any small parts for decoration to the canvas.
- Coffee paintings are a great gift that will appeal to all lovers of this wonderful drink.
Panel with a flat cup of coffee as a gift
If you want to create an original gift for the home of a loved one who loves coffee, please him with this panel:
- In the center of the horizontal canvas, lay out the silhouette of a cup standing on a saucer.
- Seal the space inside the outline with grains.
- Glue the handle.
- Place two or three curved lines of different lengths above the cup - this is the steam from the aromatic drink.
- Glue several rows of successively arranged grains around the perimeter of the picture - you will get a frame.
- Inside the picture, fill the empty space with decor from twine and a few coffee beans and a dedicatory inscription, for example, “to your beloved friend.”
This panel turns out warm and cozy. It will definitely warm the heart of the person dear to you.
It's great to experiment with coffee beans. You can involve children from an early age to create abstract paintings. Create for your own pleasure and please everyone you care about with the results of your work.
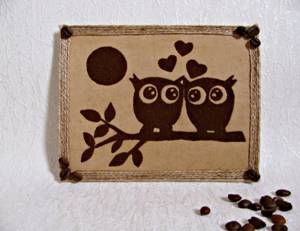
New Year's picture made from grains
The creative process is not difficult to complete even for a beginner. Start with the simplest things. On the eve of the main holiday of the year, you can start creating New Year's crafts from coffee beans. For example, a holiday card or painting.
For this you will need:
- cardboard covered with smooth and dense fabric, without a pronounced texture;
- a paper stencil on a self-adhesive base with a thematic pattern that you can come up with yourself or find the one you need on the Internet.
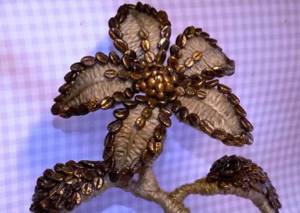
The next step is to transfer the image onto a fabric base using cosmetic blush. The resulting stencil print must be filled with coffee beans, gluing them one by one with glue. For greater originality, the grains are tightly glued to each other on different sides and along the perimeter of the picture in the form of a frame.
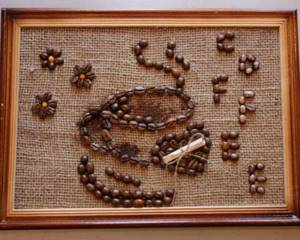
DIY photo panel of coffee beans
How to make a three-dimensional paper house: step-by-step master class and instructions for making a doll and toy house (155 photos + video)
Making peony flowers from corrugated paper - a guide for beginners and a step-by-step master class on how to make a flower with your own hands
How to make a beautiful tree of happiness with your own hands: step-by-step master class for beginners (100 photos + video tutorials)
- How to make a beautiful lampshade with your own hands: simple ideas for table and floor lamps (125 photos + video)

How to make polymer clay at home: DIY master class (125 photos + video)
- How to make a paper hat with your own hands - templates, design ideas and tips for those who are making a hat for the first time
