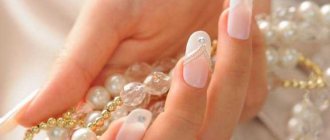
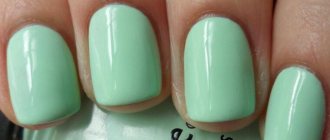
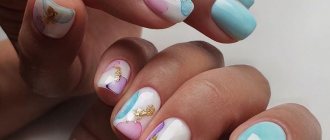
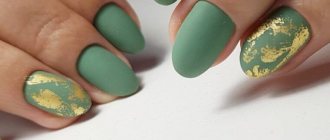
A water manicure (also known as a marble manicure) for someone inexperienced in nail design may seem like the creation of a real artist; on nails it is a very interesting idea and gives the impression of professional and expensive.
At first glance it seems that it is extremely difficult to complete, but this is not so. With a little effort, any girl can learn how to make it at home with a minimum of equipment.
It will be cheaper than going to the salon and you won’t even have to leave your home. If you don’t succeed on the first try, don’t despair; this requires practice. But once you learn, you will begin to receive a sea of compliments.
What is the water manicure technique?
Water-based manicure with gel polish is an imitation of ornaments of various sizes. Modern masters call this technology aqua manicure. The care procedure received this name as a result of the interaction of the varnish film with the water surface.
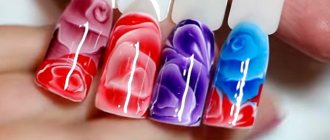
The resulting bright spot is carefully distributed over the nails. Externally, this decor resembles marble. The pattern on each finger will be different and unique.
Lacquer decorations look original and a little intricate. For work, the master can use several types of shades. Aqua manicure is considered one of the most complex and unique techniques in the nail art industry.
You can learn this type of art at home. However, to get a good result, you must follow the order of each action.
For work, 3 methods are used to obtain an unusual pattern. They include:
Standard. In this case, the nail is completely immersed in a container with gel decor.
Dry. Here a varnish film is used after it has completely dried. Next, cut out the required element and attach it to a sticky layer.
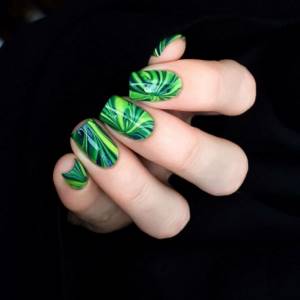
Marble technique. When creating an aqua pattern, hairspray is used. When the composition is sprayed, numerous lines and veins are formed on the surface, accurately simulating a marble base.
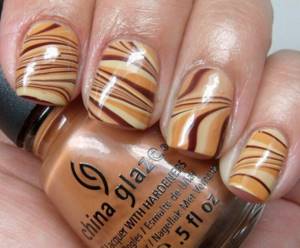
The video of creating a water manicure shows this method of decorating the nail plate.
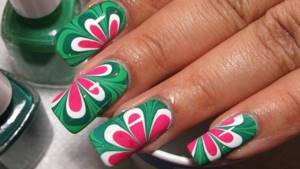
Features of choosing a suitable varnish
To apply a beautiful design at home you will need at least four varnishes - two colored, white and one transparent. To obtain the desired pattern, you should first decide on varnishes, because not all will suit.
White varnish serves as the base for the main nail art, so in this case any high-quality varnish will do. But when choosing varnishes that will be used to create a unique pattern, you should pay attention to a number of nuances.
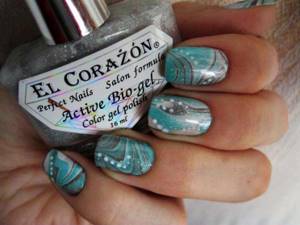
To create a water manicure at home, varnishes with a thick consistency or varnishes with glitter are absolutely not suitable. They will not spread over the water and will sink to the bottom under their own weight. Therefore, fresh liquid varnishes are best.
But even if the varnish of your favorite shade thickens at the wrong time, you can use it if you add a couple of drops of solvent to the jar and mix the contents thoroughly.
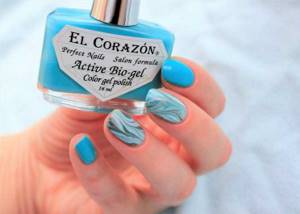
What tools and materials will you need for the job?
To get an excellent manicure, you need to prepare tools and supplies. For this you will need:
- Container with liquid. For your workflow, it is best to choose disposable cups or plastic plates;
- Liquid latex or tape. It is necessary to create a protective coating on the surface of the cuticle;
- Toothpick. It will be created by blurred boundaries and fancy designs on lacquer decor;
- Nail polish remover. This product will be needed to remove excess dye from the surface of the skin;
- Several cotton swabs;
- Base and top coat to prepare and consolidate the result;
- Set of colored gel polishes. For work you can use from 5 to 8 shades of different colors. However, when choosing, you need to take into account the overall color palette. For example, to create an evening look you will need bright and saturated colors, but for an everyday look, on the contrary, a pastel palette.
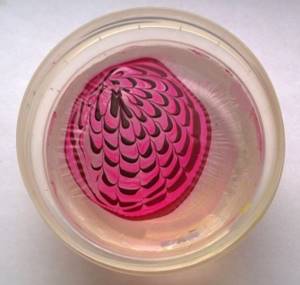
What kind of water and varnish are needed?
The answer to the question of what kind of water is needed for water manicure is very simple - almost any will do.
You can use raw or boiled tap water - its composition does not matter at all. It is much more important to choose the right temperature, because if it is too hot, the varnish will not spread over the surface, but if it is cold, it will quickly curl up. Thus, room temperature is the most suitable option.
As for what varnishes are used for water-based manicure, there are not much more restrictions: avoid gel coatings or varnishes that are too thick.
Compositions that dry too quickly are also not suitable . But liquid materials with normal drying time are perfect.
Fashionistas often wonder which varnish is more suitable for water manicure - light or dark . This is a matter of taste, but remember that too many shades on each nail is not the best option. The coating will look too pretentious.
Try this manicure using polishes with glitter or thermal effect (that is, those that change shade depending on temperature). The consumption of varnish when performing a water manicure is higher than when applying a conventional coating - this fact should also be taken into account.
Choosing a varnish
We offer some tips from professional masters on how to create a beautiful water manicure for beginners. These include:
- To work, you will need fresh gel polish compositions. They quickly spread on the surface of the water surface while creating beautiful circles;
- To create an exclusive design you will need high-quality brands of decorative coatings;
- Experts recommend choosing varnishes from one manufacturer. As a rule, they have a uniform texture and the same drying speed;
- To create a marble effect, it is not recommended to use shiny types of varnish. When immersed in water, the drop will sink to the bottom;
- To create an unusual design, you can use regular nail polishes.
Possible mistakes when creating water-based nail designs
- If, when dipping her finger into the water, the girl constantly touches the walls of the cup with her nail, then the container was chosen incorrectly.
- If the varnish droplets do not spread in water, which is why the design does not work out, then the varnish is not liquid enough. If the varnish almost immediately becomes crusty in water, you need to change the water to warmer water. Otherwise, you won’t be able to draw lines with a toothpick.
- It happens that the drawing cannot be completed - the third or second lines come out unclear and blur the composition. Here you need to remember that you need to clean the toothpick every time, and draw the actual lines with the tip. The maximum you can immerse a toothpick is 5 mm.
From everything that was listed just above, you can understand that although the technology of water manicure is labor-intensive, the result is very beautiful. It will take enough time to make it. But if you try, everything will work out.
Pros and cons of aqua manicure
The following criteria are considered to be the advantages of this decoration technique in the nail art industry. They include:
- Large color palette and the ability to independently combine shades. There are no special restrictions on the work. To create such decor, you can use absolutely any range;
- Water manicure is ideal for decorating short and long nails;
- The result can be supplemented with small sparkles and rhinestones;
- The technique is ideal for beginners and professional craftsmen;
In addition to the advantages, there are several disadvantages:
- To work, you will need additional protection for the skin around the nail. To make the decor as neat as possible, use liquid latex, tape and rich cream;
- This technique will require a large amount of decorative varnish. On average, to create an aqua pattern you will need 15-20 ml;
- It takes a lot of time to create a manicure using this technique.
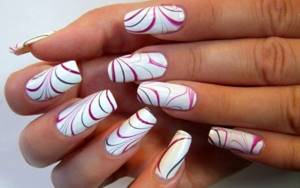
Features of this type of manicure
First of all, it is worth emphasizing that the water manicure technique does not require special materials - to perform this design in its simplest version, all you need is ordinary varnish in two shades, a container of water and a toothpick. Accessibility can be called the main advantage of this technology.
Mastering it will take a certain amount of time - some will succeed the first time, while others will have to practice. However, keep in mind that the lack of artistic skills is not an obstacle, because such a manicure can be done even by those who skipped drawing classes and do not at all claim to be a great painter.
Water manicure goes very well with other design options: in numerous photos of modern nail trends you can see a combination of water manicure and a French manicure or a plain coating, stickers or rhinestones. Thus, the widest possible scope for imagination opens up.
This type of design also has disadvantages: if you decide to do a water manicure at home, reserve yourself enough time (about two hours for beginners) and patience. Unfortunately, this technique does not allow processing several fingers at the same time.
The coating itself, which is applied with water, is quite thin and does not take much time to dry. But in order for this design to look beautiful, you should definitely do a hygienic manicure and carefully remove the cuticle.
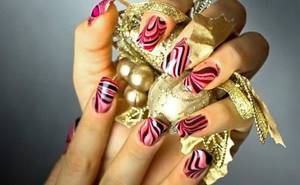
If you apply this coating to all your nails, keep in mind that it will not be absolutely identical - each nail will receive an individual design.
How to perform the technique at home?
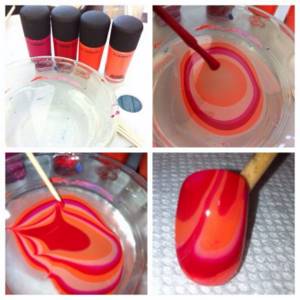
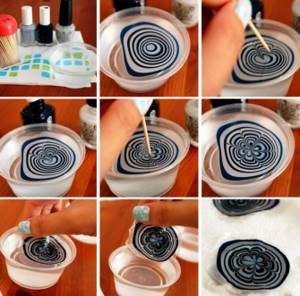
For beginning craftsmen, this type of decoration may seem complicated and troublesome. By following the order of each action, it is possible to obtain an exclusive design. The workflow includes the following steps:
We prepare the nail plate. We remove the cuticle and give the desired shape to the nails. Apply the cream to the periungual ridges.
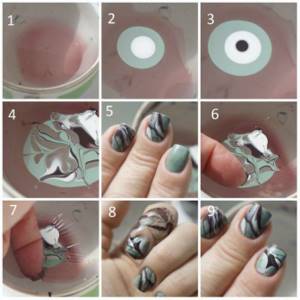
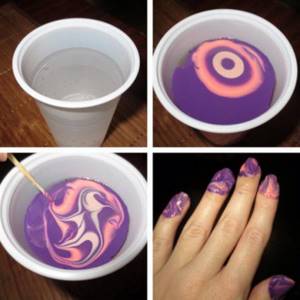
In a separate container we begin mixing shades. To do this, add 1 drop of each color in turn to a container of water. The result is a color wheel.
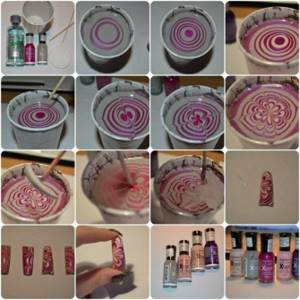
Using a toothpick, draw lines in a chaotic manner. With the sharp part we make a quick movement, allowing you to connect several colors. After this, carefully remove the wooden element so as not to spoil the design. Experienced craftsmen recommend making a Christmas tree for the first time. A straight line is drawn from the center to the edges.
We treat the nail plate with a soft nail file to remove the top layer. Do not make sudden movements that could injure the surface. Removing the protective layer will help improve the adhesion of the decorative coating to the structure of the nail. Then spread a thin layer of degreaser over the work surface. The liquid composition is prohibited from being applied to the periungual ridges and cuticles. Most clients may develop severe allergies.
Apply a base to level the nail. We send it to the LED lamp for 3 minutes. Use a cotton sponge to remove the sticky layer. After this, we place the nail plate in liquid decor.
Carefully remove excess varnish with a cotton swab. Now the decor needs to be polymerized for three minutes.
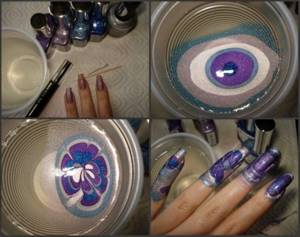
We use a finishing coat to secure the result. The photo of a DIY water manicure shows the resulting decor.
Light coating with liquid drops
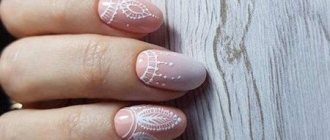
Light coatings include varnishes of soft pink, beige, light green and other not too bright shades. Many girls choose a plain coating and apply liquid droplets on top. You can also apply droplets to one or two nails, which is a very fashionable solution.
Don't miss: Stylish manicure for spring 2021
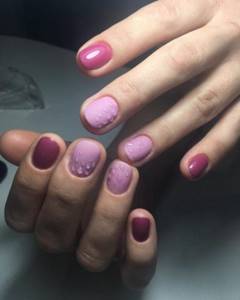
Often, fashionistas cover their ring finger with a design and apply droplets on top of it. In this case, your drawing can be anything. Starting from abstraction to real works of art.
You can also perform a liquid manicure in another variation. This is to paint a couple of drops of varnish in the smile area and move them down to the nail hole. This will help create the impression of flowing varnish, as if liquid drops are flowing down.
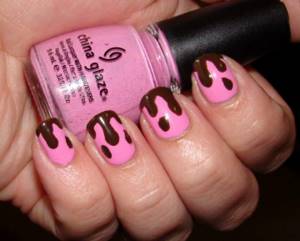
Photo of water manicure
Dark coating with liquid drops
In dark coatings, girls most often choose varnish using the cat-eye technique as a base. Against this background, your drops will shimmer in the beautiful color of the varnish itself. Dark coatings include purple, dark red, dark green, black and others.
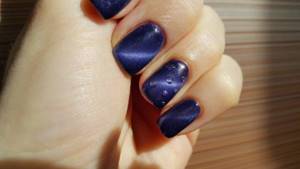
If you don't like the cat-eye effect, then simply choose a dark-toned finish and apply dew drops on top. Also use drawings and decorate them with such decor and rhinestones.
