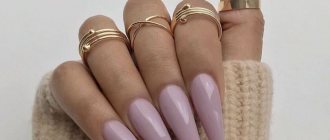
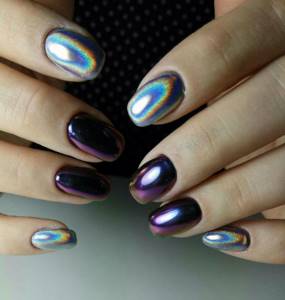
Which gel polish can be dried without a lamp? How to choose it?
Gel polishes that do not require drying in a lamp dry in daylight, so it is best to do a manicure during the day or in bright light.
When choosing a gel coating that does not require drying in a lamp, carefully study the label. It should have indicated that the varnish does not require drying in a UV or LED lamp.
Also note if additional funds .
In most cases, a top coat is required, which is responsible for high durability, glossy shine and richness of shades.
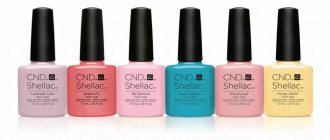
Manufacturers of gel polishes without lamp drying
The most popular gel polish without lamp drying is Vinylux from CND. It is suitable for both professional and home use. Gel polishes from OPI, SallyHansen and Pupa are no less in demand.
Lumene gel coating is labeled “ 3- free ” because it does not contain phthalates, toluene, or formaldehyde.
NailLOOK is 80% natural and is labeled as “ BIG 5 FREE ”. This gel polish does not contain the most harmful substances - formaldehyde, toluene, dibutyl phthal, formaldehyde resins and synthetic camphor.
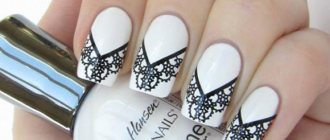
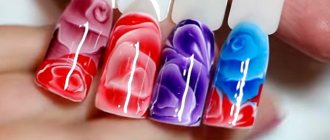
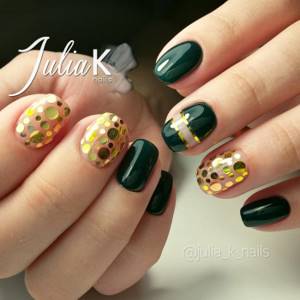
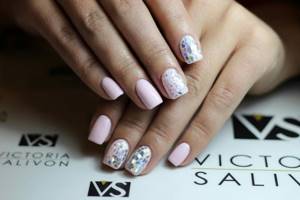
Simple designs for the beginner manicurist
Step-by-step photos of fashionable manicures and video tutorials on manicure at home will allow you to quickly master popular techniques. You just have to stock up on free time and patience. Enjoy watching!
- Simple drawings
- Flowers and patterns
- Rhinestones
- Kamifubuki
- Rubbing
- Broken glass
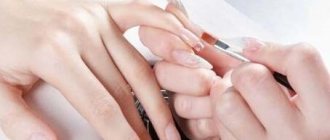
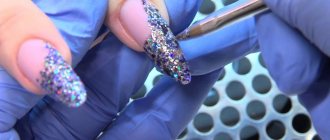
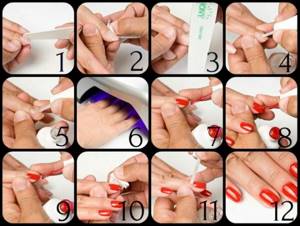
Applying gel polish at home
Most gel polishes are applied equally without drying in a lamp. There are several technologies for coating the nail plate.
Base coat, color coat, top coat
In other words, a three-stage system.
First, the nail plate is coated with a base coat to improve adhesion. After this, two thin layers of colored varnish and top coat are applied.
Please note that each coating must seal the tips of the nails .
Manufacturer: OPI
Color coating and top coating
In other words, it is a two-stage system.
A colored coating is applied to the cleaned nail plate. Some gel polishes need to be applied in two layers to get a more saturated shade. A topcoat is applied to the color coating for durability.
Manufacturers: Vinylux, SallyHansen, Isadora, NailLOOK, Rimmel.
Color coating only (3-in-1)
The color coating is applied to the nails in 1-2 layers, depending on the pigmentation of the varnish.
This type of gel polish includes both a base and a top, so it is not inferior in shine and saturation.
Manufacturers: Pupa, Lumene, Avon.
Subtleties of applying gel polishes without drying in a lamp
- Do not apply base and color coatings in a very thick layer;
- the thinner the color coating, the better it adheres;
- the densest coating is top coat;
- seal the ends so that the varnish sticks better;
- Correct all errors immediately.
In most cases, the tip of the nail is sealed with only the top coat.
The end and back of the nail are coated with gel polish. It happens that you need to additionally seal the edge using a base and varnish.
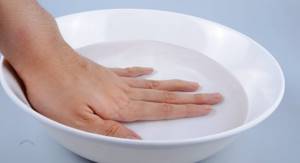
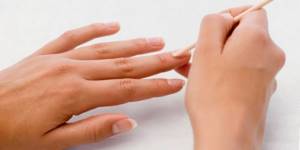
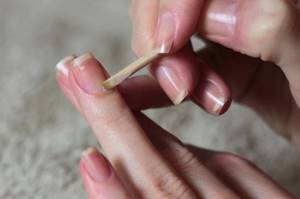
Working with the cuticle
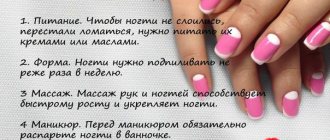
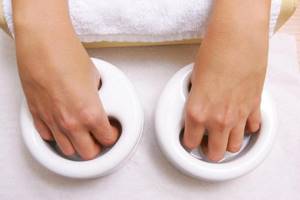
A DIY manicure at home starts with the cuticle. Where to start processing it? In order for dry skin to become more pliable and be removed painlessly, it should be softened, and a bath with warm water will help with this.
SIMPLE HOME MANICURE
To do this, pour water into a small bowl and add sea salt if desired. In this case, you can get a comprehensive procedure that will help soften the cuticle as much as possible and at the same time strengthen the nail plate, soften the skin on your hands, and eliminate irritation. The time for taking such a bath is 10 minutes.
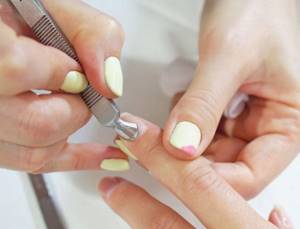
Use a terry cloth to blot your hands and use an orange stick to push back the cuticles.
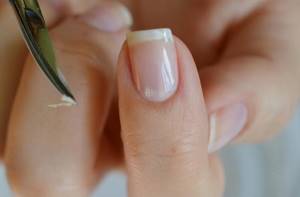
Remove it using special pliers.

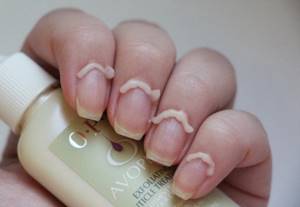
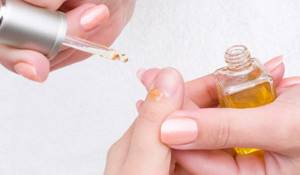
Then rub in cuticle oil or regular rich hand cream.
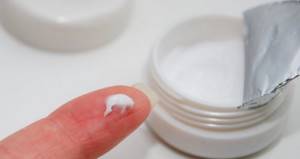
Today, a lot of different products are sold to make cuticle removal easier. For example, salons actively use a special product to soften the cuticle. It allows you to get rid of the skin without the use of cutting tools, but when working with it you need to be very careful, since if you leave the composition on your nails too long, you can get a burn or cause excessive dryness of the nail plate.
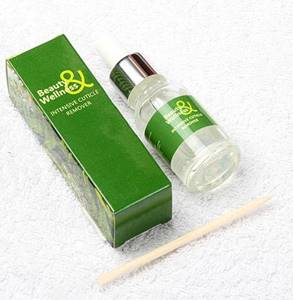
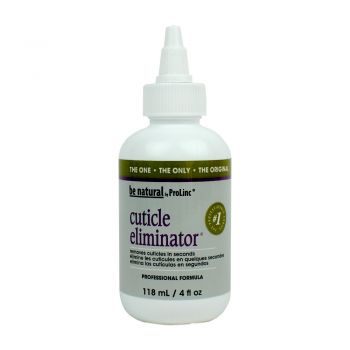
CUTICLE SOFTENERS
| Brand RUNAIL. The remover contains aloe extract. The cuticle softens within 3-5 minutes and is removed with a stick or a special manicure tool. Not suitable for very rough skin. |
| Brand ORLY. Medium consistency, specific aroma, removes cuticle well. The exposure time is only 20-30 seconds. | |
| Brand INGARDEN. The remover has a liquid consistency, is convenient for home use, and perfectly softens the cuticle. Application time also ranges from 3 to 5 minutes. |
| Brand Be natural. Acts quickly, maximum time 45 seconds. Very quickly softens the cuticle. It is better to apply in stages, several fingers at a time. Suitable for rough cuticles. |
| Brand OPI. The product is in the form of a light cream with a pleasant aroma. Exposure time 3-5 minutes. Not suitable for very rough cuticles; it will soften them only slightly. | |
| Brand CND. A good remover that removes cuticles very carefully. But not very suitable for home use due to its large volume. | |
| Brand MASURA. Remover with algae extracts. Well softens and nourishes the cuticle. | |
| Oriflame brand. The remover has a pleasant smell and softens the cuticle well, but the bottle is not very convenient to use. | |
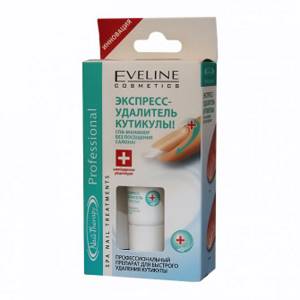
| Eveline brand. Not a very comfortable tube. The product is difficult to distribute accurately. It greatly softens not only the cuticle, but also the nail plate. |

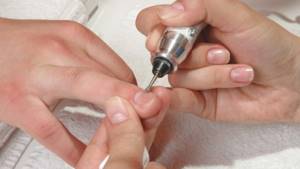
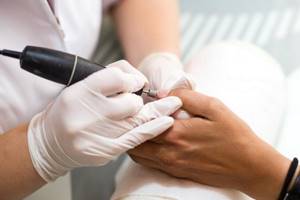
Hardware manicure for beginners
Probably everyone has already heard about hardware manicure. More and more fans of this technology are appearing. Its trick is that it allows you to free it from dead cells without damaging the cuticle. Of course, here you will have to master a special apparatus, which is equipped with various cutters. It will help you forget about wire cutters and other devices. Hardware manicure is performed quickly and painlessly.
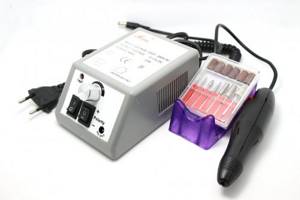
HOW TO DO A HARDWARE MANICURE CORRECTLY STEP BY STAGE
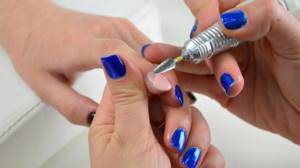
It is performed on dry skin. At home, it is better for beginners to work at low speed to prevent accidental damage.
Stages of work:
- If there is old coating, it must be removed. How to do this correctly, see the section: How to remove gel polish.
- Treat the skin with an antiseptic liquid.
- Use a stick to push back the cuticle. Using a cone-shaped nozzle, remove the skin. Hardware manicure for beginners should be performed at medium speeds. Movements should be neat and smooth. The cutter should not be pressed too hard against the skin. To remove the cuticle you need to move from left to right.
- Give your nails the desired shape. The disk attachment is designed for this purpose.
Video tutorial on hardware manicure
European manicure at home
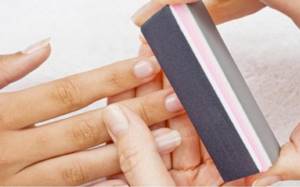
A trim manicure is not the only way to get your hands in order. European manicure, which has a lot of advantageous characteristics, is considered its worthy competitor. Its essence is that the cuticle is treated with a special softening compound, and then pushed back with a stick. After applying the decorative coating, a special oil is applied to the cuticle, which slows down its growth. The beginning of a manicure for beginners is giving the nails the correct and suitable shape. To do this, use a file of medium hardness. After that, the nails are covered with regular varnish and the coating is secured with a special product.
The advantages of European manicure are obvious:
- The risk of infection is reduced.
- Does not cause pain.
- It will be an excellent choice for people with thin, sensitive skin.
EUROPEAN HOME MANICURE
- The first step is to remove the old coating from your nails. Detailed instructions in the section: How to remove gel polish.
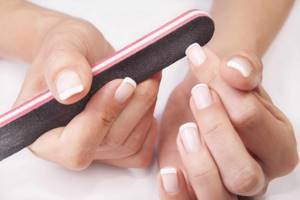
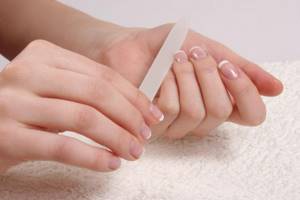
- In the second stage, you need to shape your nails using a natural nail file and lightly sand them.
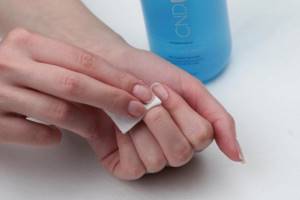
- Apply remover (a special cosmetic product for softening and subsequent removal of the cuticle). The exposure time is different for everyone, from 30 seconds to 10 minutes (on average 3-5 minutes). Read the instructions carefully, because... the recommended time cannot be exceeded. Then you need to remove the remover with a cotton pad or wash it off.
- We push back the cuticle and clean the edges if necessary.
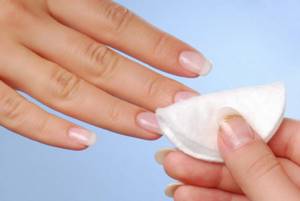
- At the final stage, we roughen the nails using a buff and degrease them using a special de-sticking agent.
It is better to degrease your nails with special lint-free cotton pads for manicure to avoid getting small fluff on the nail, which can subsequently ruin the appearance of the coating.
Nails are prepared for applying gel polish. You will learn about the sequence of stages of a gel polish manicure below in the step-by-step photos.
Video tutorial on how to perform a home European manicure
How to do edged manicure at home?
Despite the popularity of European manicure, many girls still prefer the edged version, thanks to which a manicure with gel polish or other coating looks very impressive.
Performing a trim manicure for beginners in stages is as follows:
If there is an old varnish coating, it must be removed.
- File your nails and give them the desired shape.
- Prepare a bath to soften the cuticle (you can additionally apply remover).
- Then push back the softened cuticle with a stick or metal pusher. You can also clean out the pterygia with a spatula.
- Using nail scissors or nippers, carefully trim the cuticle along the edge and clean the area of the side ridges. After this procedure, the cuticle can be wetted again and pushed back again.
- Apply nourishing oil or cream with massage movements until completely absorbed.
Video tutorial on trimming your own manicure
How long does it take to dry this gel polish?
Gel polish is applied in several stages without drying in a lamp.
As a rule, a minute after applying the base coat, you need to apply the varnish. There should be a three-minute break between applying the first and second coats of color. After this, a top coat is applied and dries within a few minutes.
To find out more detailed information about gel polish without drying in a lamp from a specific manufacturer, you need to go to the official website. Different brands of gel coatings differ in drying speed.
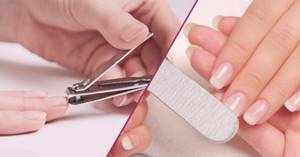
How to cut your nails correctly
Experts advise cutting your nails according to the shape they grow in: oval or straight. This is a genetic predisposition; you cannot change the shape of your nail. That is why gel nail extensions were so popular at one time: short ones could be made long. From square - oval, etc.
With a natural manicure, nails are filed according to the shape of their growth.
The safest and most gentle way is with a soft nail file. When cutting with scissors or tongs, the nail may peel off or be cut unevenly.
Average nail growth is 1 millimeter per week. Although for some the same length grows in two to three weeks, and for others in just three days. Everything is very individual. To grow nails, take vitamins and eat calcium-containing foods.
Determine your ideal length. For example, 3 mm. In this case, you will need to do a manicure approximately once every three to four weeks, filing away the extra millimeter.

Reviews
Ekaterina: “Dries faster than regular varnish. I didn’t see any special differences from gel polishes that dry under a lamp. But you can’t easily remove it with regular nail polish remover. You have to apply cotton wool to make it come off better.”
Julia: “I use gel polish without drying it in a lamp. Longevity is good and applies smoothly. The main thing is to prepare your nails correctly and don’t forget to apply topcoat.”
Victoria: “I’m not very happy with the result. On the third day, small chips appear, and by the fifth day the gel polish is very peeling around the edges.”